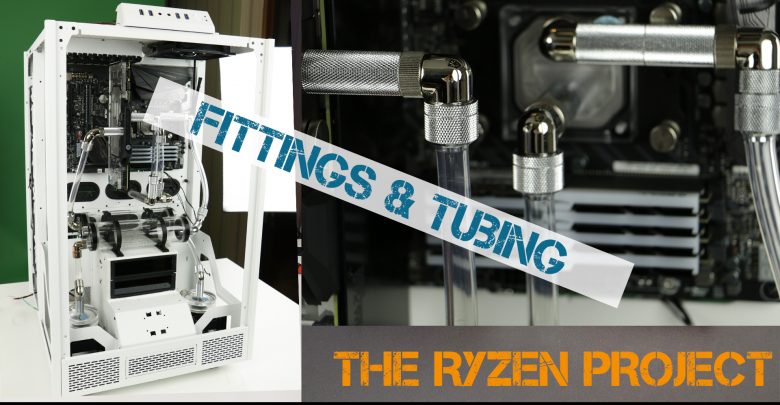
Tubing a dual loop (Project Ryzen 8/10)
Difficulty
TIME CONSUMPTION
DIFFICULTY
RISK
Advanced
Well.. we came a long way.
Fitting this monster of a computer has been on the table for the past 2 months.
Let’s get right into this!
When fitting and tubing a dual loop, get ready for dozens of small metallic and circular parts, which will spend their time falling from your working table if you do not organize them in well marked and individual recipients.
Also, it is ok to use different brands whilst assembling your loops, just as long yo make sure they all are of the same width. In this case, all our fittings were 10/13mm or also known as G1/4 standard.
For this particular tubing I have used :
- 20 compression fittings
- 10 40 mm extensions
- 7 30 mm extensions
- 7 10 mm extensions
- 13 90° elbows
- 7 45° elbows
- 4 45°x2 elbows
- 2 valves
- 2 plugs
- 2 4 way connectors
- 3 meters of 9,5 / 12,7 mm tubing (EKWB)
Having a small diagram of what your loop will look like is always a good idea!
 1st Loop:
Pump > Reservoir >
GPU > Bridge >
480mm Radiator > Pump
Note that the liquid will run in the opposite direction than described above. I am here showing the order of assembling.

2nd Loop:
Pump > Reservoir > GPU > Bridge > 360 mm Radiator > Pump
Again, this is the order of assembling. Not the direction of the loop’s cooling liquid.


