DIY: 1080TI Custom Water Cooling (Project Ryzen 7/10)

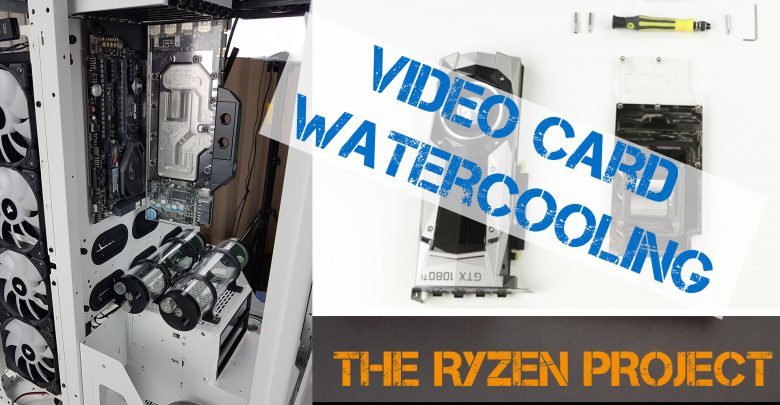
1080TI Custom Water Cooling
- Video Card: GeForce GTX 1080TI Founder’s Edition (ASUS)
- Water-Block : EK-FC 1080TI GTX (EKWB)
Here it is, finally!I got my 1080TI water-block! Ladies and gentlemen (though we all know we are just a bunch of boys reading this), EKWB’s very own EK-FC 1080TI GTX !
After months of speculation, false rumors, the Geforce GTX 1080TI is here!
It seems like EKWB was taken a little by surprise by the release of the 1080TI.
It took them a healthy THREE weeks after the new GPU release before blessing us with a usable water-block.
But here it is ! So, without further ado, let’s jump right in.

Before anything else, make sure that you have the right tools.
To install the waterblock on the GPU, make sure you have a Philips able to remove 0.5 mm head screws, 1 mm head screws and 2 mm head screws.
Also, you will need the right tool to remove the 14 HEX2.5 screws pairing the logic board to the stock fan.
Following the steps described in this article WILL void your video card warranty!
REMOVING THE STOCK COOLER

First things first, let’s remove our card’s two back plates.
Fourteen 0.5 mm screws keep them solidly attached to the logic board.
Remember to take it slow and save all the original parts in a safe place. You never know when you ‘ll need them again!

Next step, is to remove the 2mm screws which give that tight contact between the GPU die and the stock fan. You will notice that one of the four screws (top left) is covered by a circular white tape. Once broken, this will signal that your card’s warranty is now void. So no turning back after that.

Finally, and before removing the stock fan, we need to remove these 2 mm screws, on the display shield.
Easy peasy!

All right! Now is the time to open this baby up! Don’t expect an easy separation. It won’t just open up. Instead apply a gradual and repetitive separating motion, until you feel the different cooling pads and thermo-compounds, giving up under your subtle yet, firm touch.
There are a couple of wires connecting the logic board to the stock cooler, so yanking it open will most certainly damage your board.
Instead, once separation is achieved, let the board and cooler stay at a close distance… for now.


Above are the two cables I was referring to. Make sure to disconnect them before going ahead.


Now is the time to replace our original double-deck display shield with the our single-deck one (provided with the EKWB water-blcok EK-FC 1080 GTX) . Remove the three 1 mm screws mark in red and re-use them to attach the single-deck display shield.
The LOGIC-BOARD

Using a wet cue-tip (solvent works better than water), carefully remove the exciting thermo-compound, and make sure to remove all remaining thermo-pads on the surrounding chips and transistors (gently cleaning them with the cue-tip is a good idea).

Let’s cover all the indicated chips and transistors with the provided new thermo-pads. Note that the individual therm-pads do go on the 11 RAM modules.
Note: It is an absolute PAIN to remove the thermo-pads protecting film. Go slow… and hope for the best!
Finally, apply a fresh and generous amount of thermo-compound on our GP102’s protective die.

Time to CAREFULLY place our water block on the logic board. Make sure to start by fitting its left extremity under the display shield and gently let the the water-block rest on the components under it. You should fill a perfect fit under your hand. Try not to move it too much at this stage, which can be tricky, since we will have to turn it on the water-blocks face, in order to secure it to the logic board.
To secure our logic-board to our water block, 3 different sets of screw need to be tighten in.

1- First, two 0,5 mm screws as shown on the picture.

2 – Then, two longer screws on the right extremity of our card as shown here. Not that the lower screw will be secured in place by a nob.

3 -And finally, four 2 mm screws which will get our GPU die firmly and tightly pressed against the water-block cooling surface.
The BACK-PLATE
Last step of an already delicate operation. Arguably this could be an optional one, as your card would work just fine as it is… but I would not recommend it.
The back-plate will not only spare you a couple more degrees (Celsius degrees mind you), but it also will protect the delicate circuitry from your indelicate touch and other rodents which certainly populates your bedroom (we all know this build will end-up in your bedroom).


First we will place individual thermo-pads on the ram soldering points. As much as possible, try to get your pads to cover all the soldering point. Can be tricky, they are the exact right size.
On the back-plate, add a thermo-pad where the GPU soldering points rest, and a longer thermo-pad band for the transistor soldering points.

And that’s that. Simply secure them all together using the provided 1 mm screws.
If you are using, as I am, a different backplate (Titan X in my case), then, just secure the 4 central screws and let the screws at the extremity of our card, free and unfilled.
Ain’t she pretty ?

CONCLUSION
Not that hard, was it?
What I liked :
- A single-deck video shield. Seriously…. GENIUS
- Extra thermo-pads.
What I didn’t like :
- Individual thermo-pads two small for the RAM module soldering points (back of the logic-board).
- Thermo-pads protecting film are a PAIN to remove (you’ll see).
Final thoughts :
Either giving a new life to an older video card or pushing the limits of a new one, water cooling a GPU will give you a solid and tangible performance increase. As far as I am concerned, a must for any serious computer enthusiasts.

